Glycol in your brewery - how to get it right June 2021
The brewhouse is often referred to as the heart of your brewery. If this is the case – glycol is the blood. It is the thing that keeps your beer alive.
With a job this important – you need to get your glycol set up right.
This involves more than just deciding on the right brewery equipment. You need to consider the percentage your system needs, how much you’ll need, the type of piping you’ll use – and of course, the layout.
With this in mind, Bespoke Brewing Solutions put together this article, to ensure you have all the information you need about glycol.
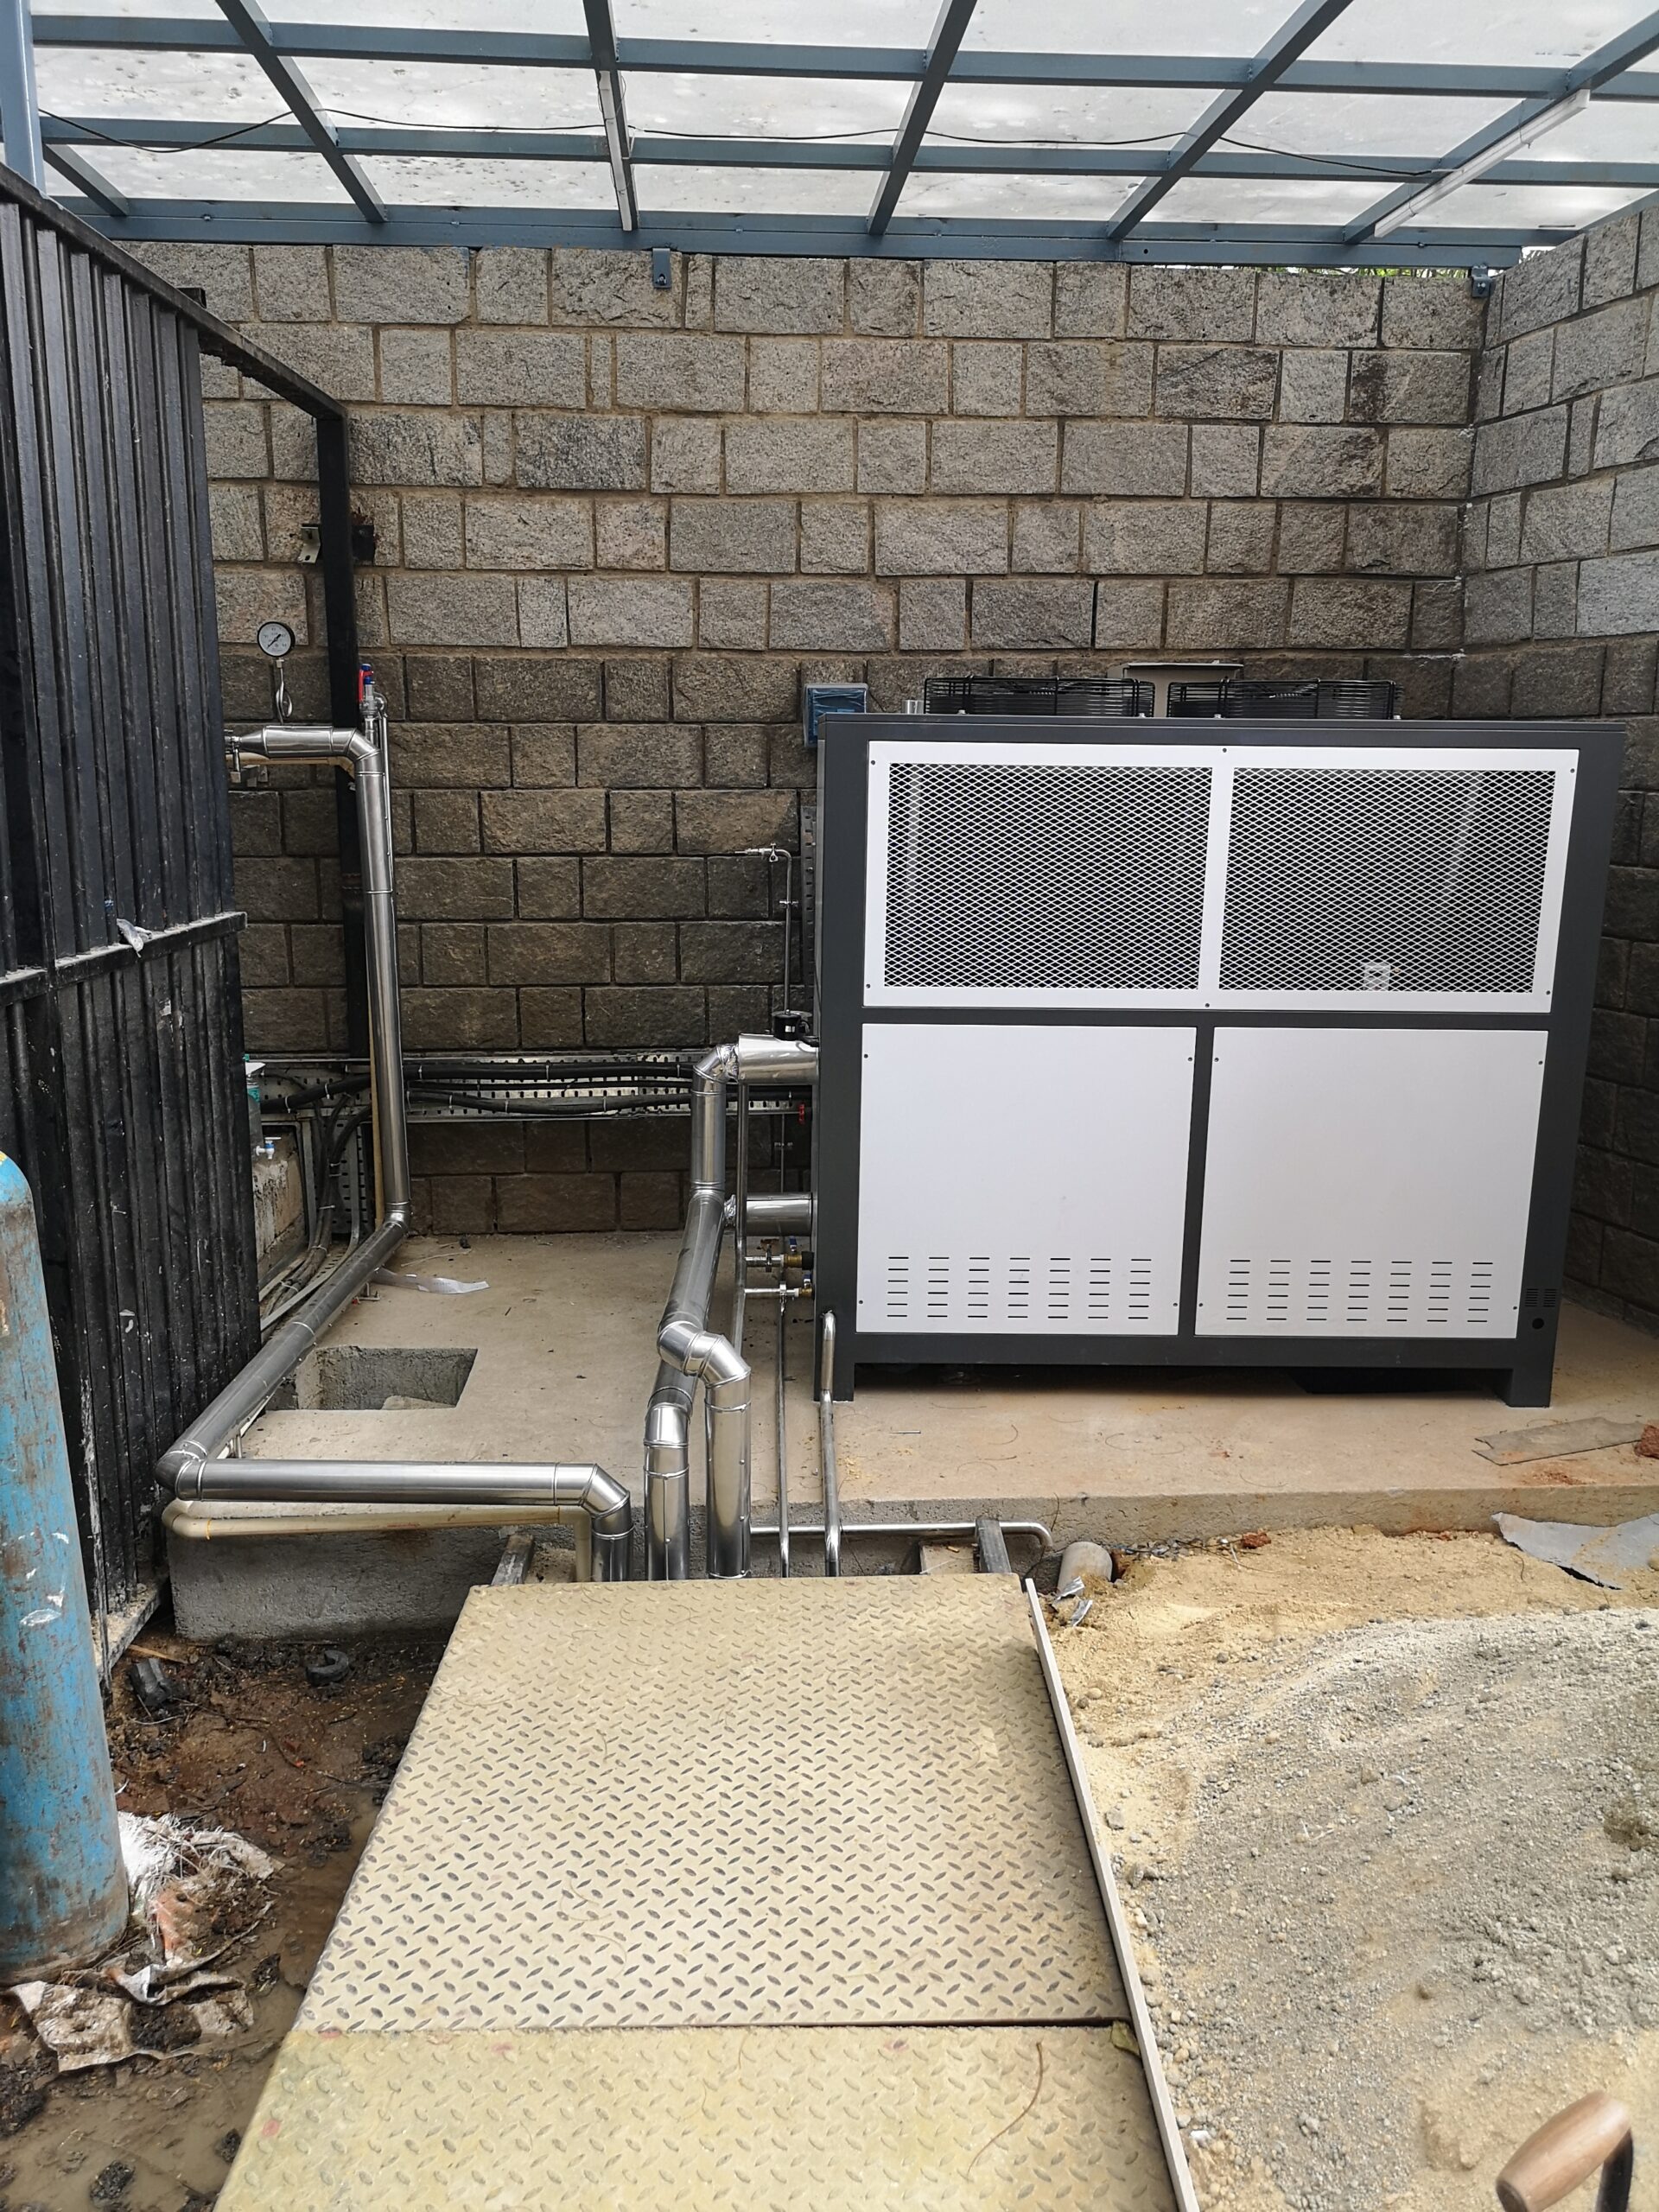
Chiller sizing
Step one is to source your equipment – but this is no simple step!
You want to ensure you have the correct sized glycol chiller – not just for your initial cellar, but also for the future.
This is because a new chiller in the future is not only costly, but your utilities might not be able to handle the electrical load.
Another way to go is to purchase one chiller – with plans to add another to help handle the load – but also as a security in case one goes down.
(As a side note, we are not glycol specialists! We use tools which are readily available, such as the nice Glycol Chiller Selection Tool from Advantage Engineering, Inc.)
Now let’s talk chillers! We have come across a variety of good ones out there. When making your choice, we ask our clients the following:
- Will it be indoor or outdoor?
- Will you have an onboard reservoir or dedicated glycol tank?
- What can your electrical load handle?
All of this will help determine where in the brewery to put these noisy and heat producing beasts.
Pro Tip: HVAC on speed dial
Make sure you either have a licensed technician from the supplier at your fingertips – or a very skilled HVAC technician. Glycol chillers are glorified AC units so most HVAC guys will know their stuff.
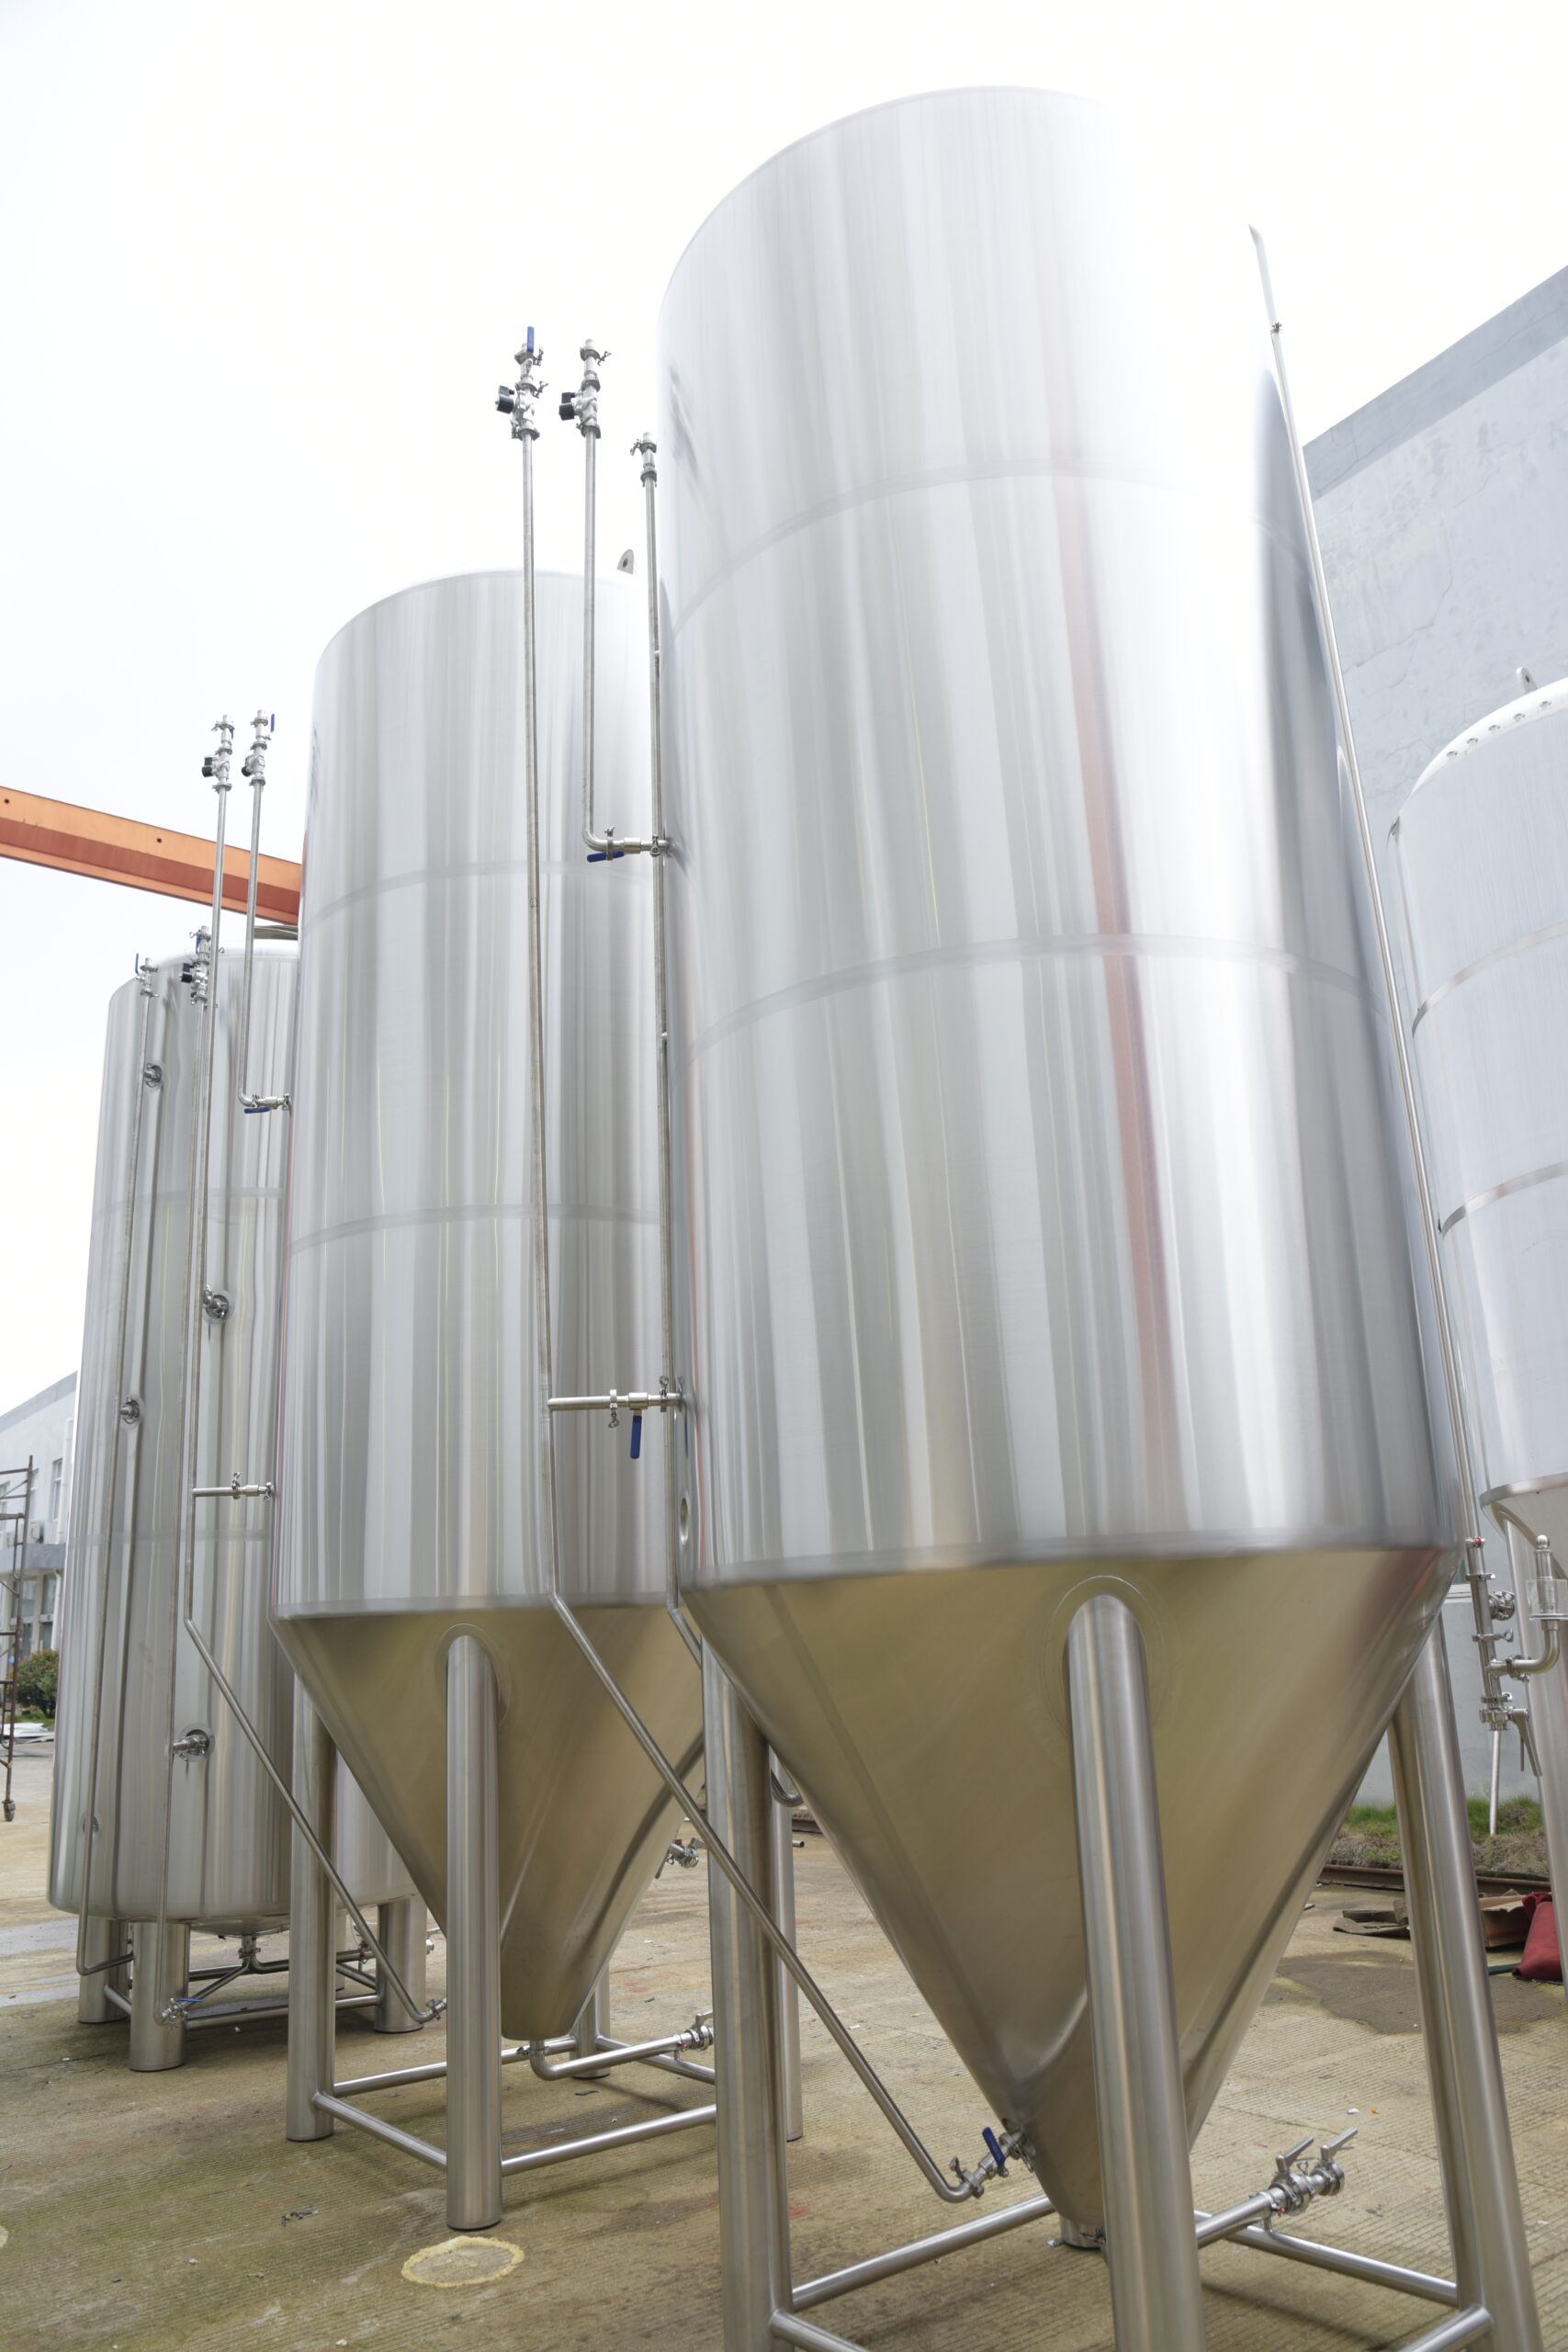
Piping dilemmas
Once you have the chiller sized and ready to go, it’s time to start thinking about how your glycol runs around the brewery.
We recommend making your main lines bigger than your branches to the jackets. We also advise putting in more ball valves than you need.
Each tank should have a valve right off of the main loop – for both supply and return – and then a valve before the jacket inlet, to help reduce flow if you are getting freezing on the jackets.
Here’s the clincher – fluid will always follow the path of least resistance. So the first vessel your glycol loop hits will get the most love – which means the last will be getting the least amount of flow.
This is where the valves come in. You can reduce flow into the first vessel and work your way to the last tank, which most likely will be fully open.
Here at Bespoke Brewing Solutions, we supply tanks with glycol branches with the glycol ports already done before they ship – including componentry. This saves time and money as it is very plug and play.
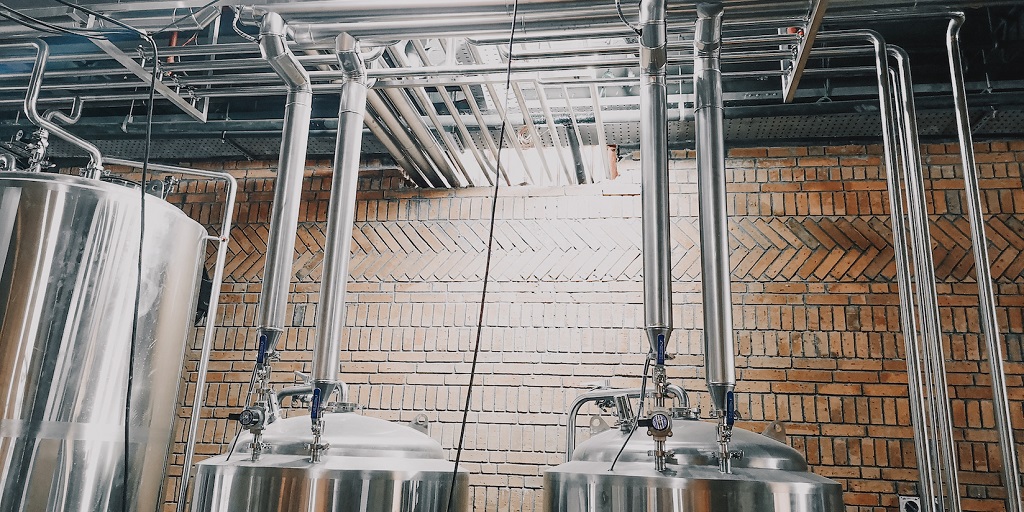
Glycol piping material
Stainless steel is the most aesthetically pleasing – especially if you have an installer who can make the pipes straight. This gives the brewery a real premium look.
As we all know, the aesthetics in breweries are important, especially the more expensive brewpubs.
You can also go with PVC or PPR piping – which works fine – but beware, if they are not well supported, they can droop over time.
Soft hose is another option – and it is the most economical one. However it might not look as spiffy.
After your piping is done, you need to insulate everything. This will save you money as you will have less heat escaping – and your glycol chiller will love you!
If you really want everything to pop, you can then clad the piping with either aluminium or stainless steel. This helps to match the stainless of the vessels – and it will look sensational.
After you have a pipe which is now insulated – and possibly cladded – you end up with a much bigger diameter then it was originally. So you should consider spacing for the piping to whip around the brewery.
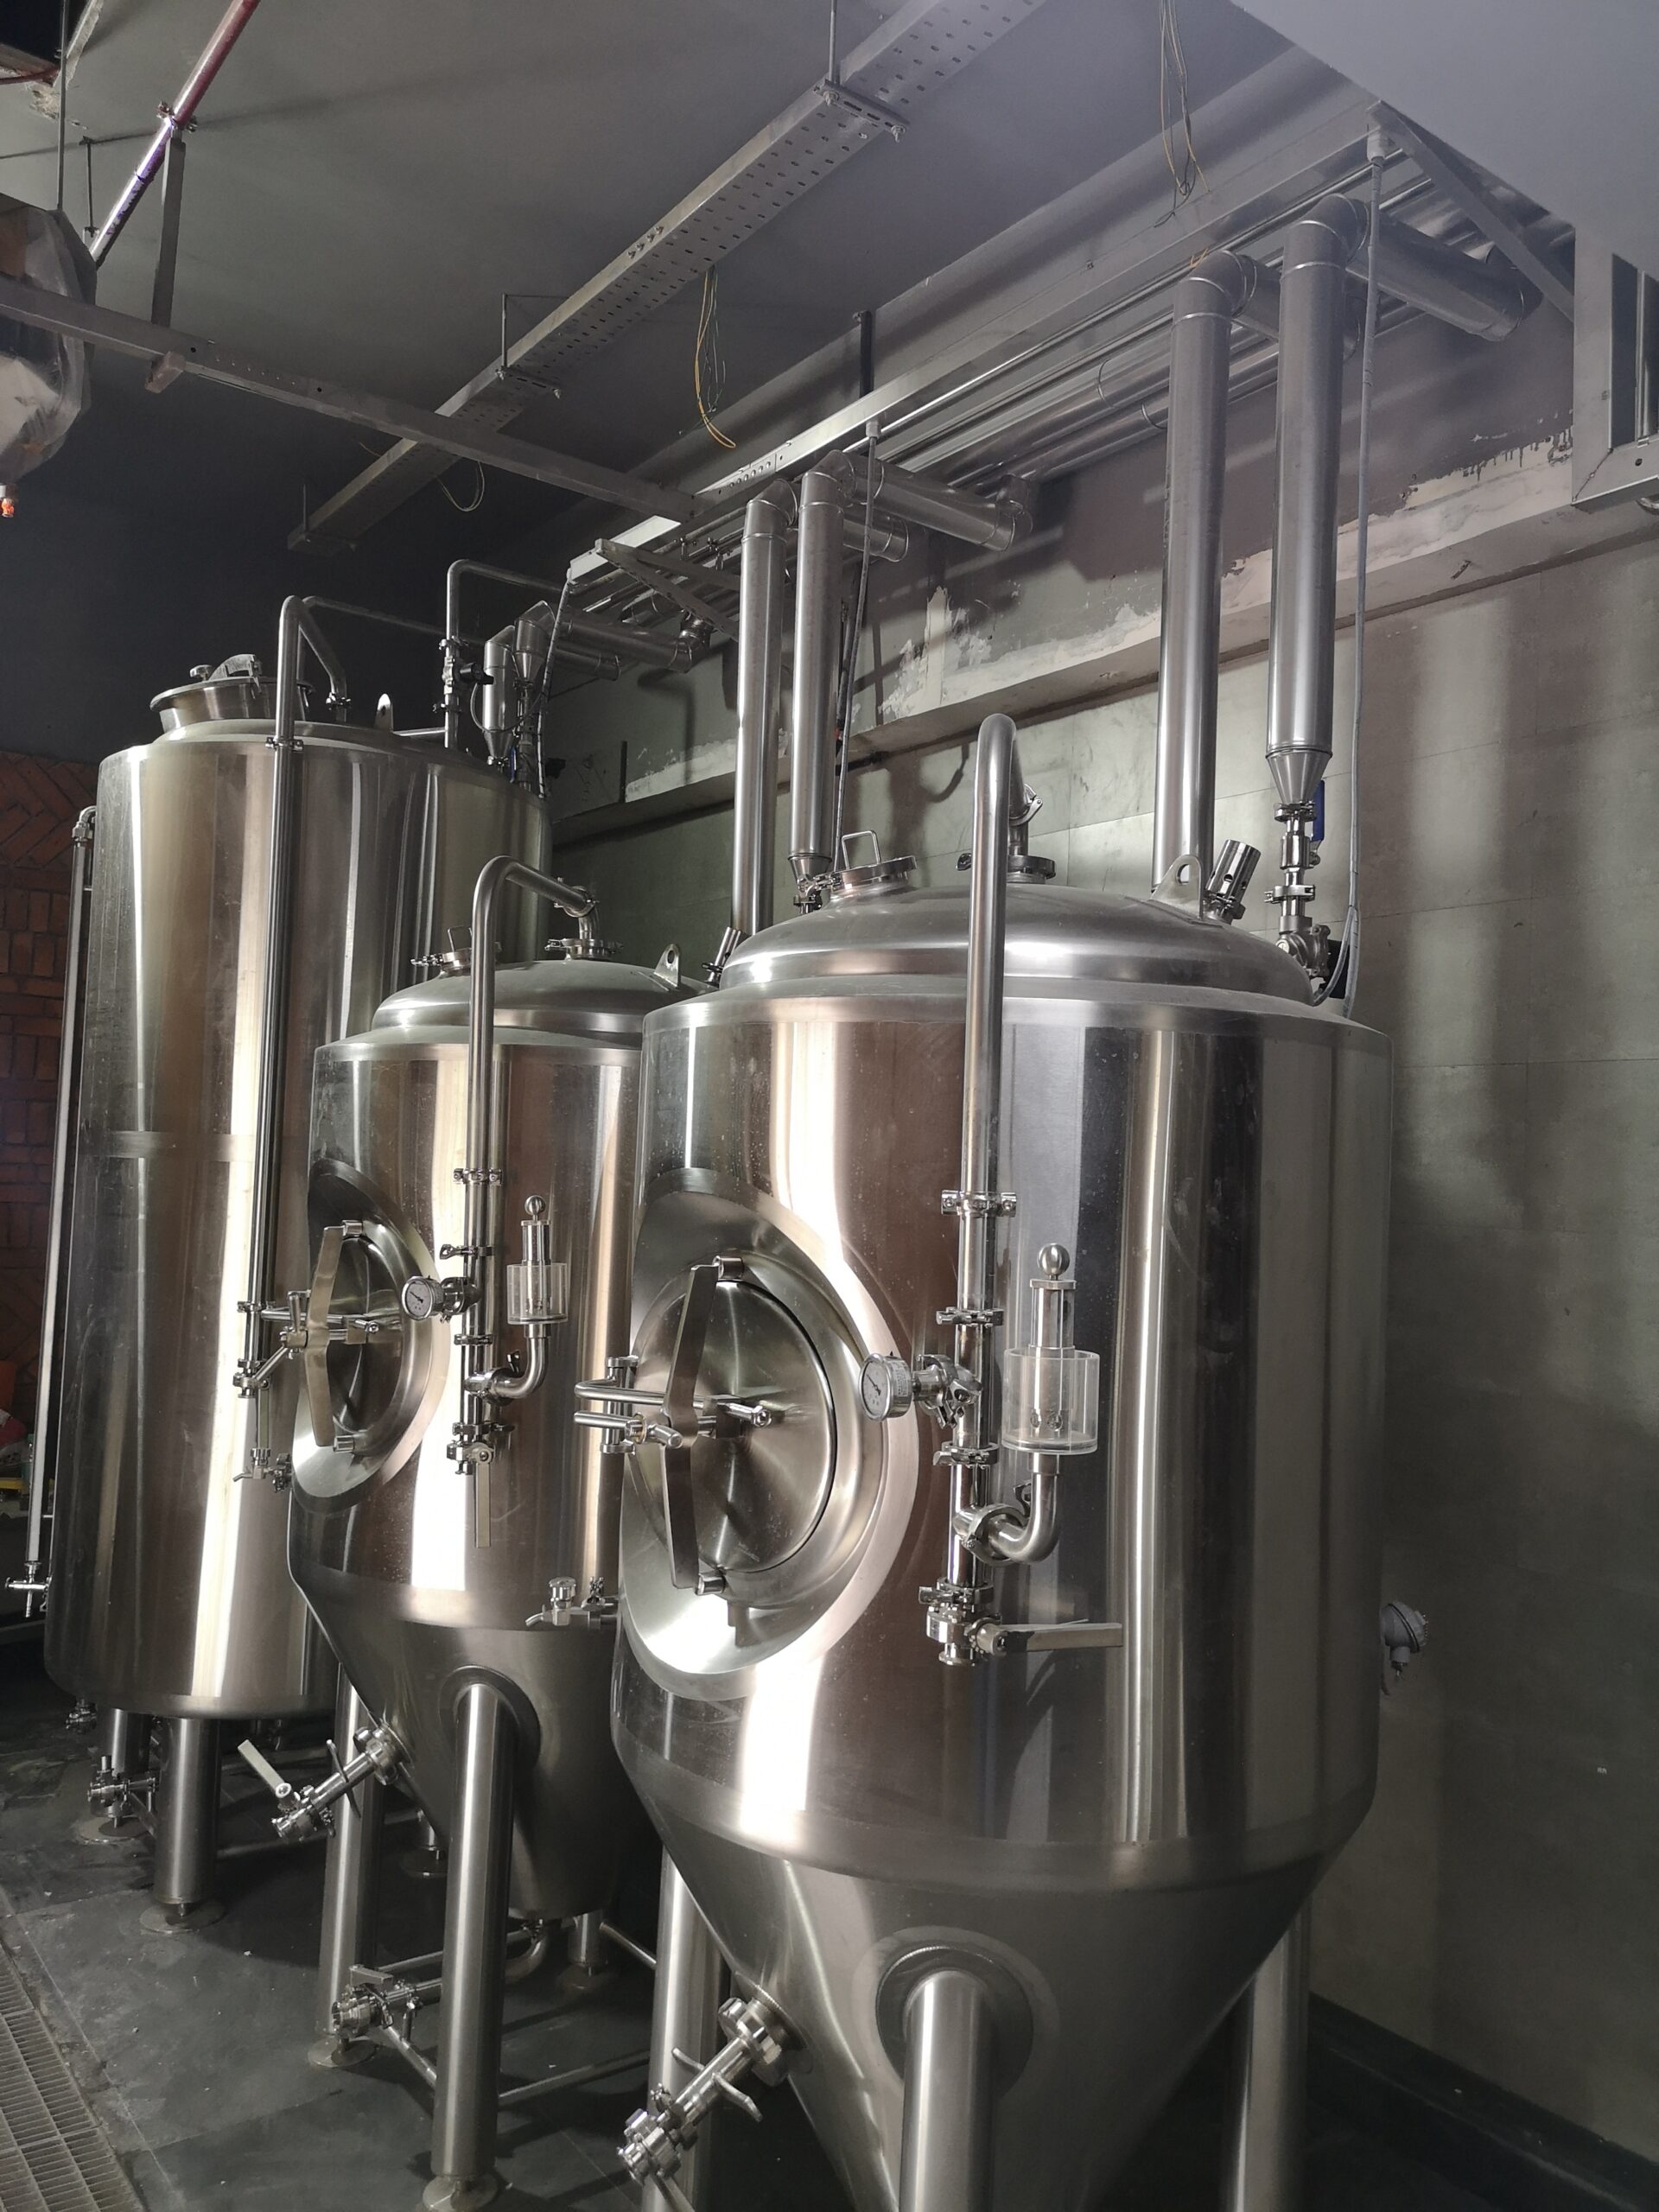
Connections with your Brewery Equipment
The glycol jacket location is not standardised as well as the connection type. So make sure you specify to your manufacturer where the best place for them is.
We usually use NPT connection for the US market and BSP for everywhere else. We have used tri-clamp connections as well, but most plumbers are not familiar with them and request an adaptor.
Pro Tip: Use that space
You can put the glycol inlets and outlets 45 degrees off of the back. This will allow you to use the empty space between the tanks and scoot them right up against a wall – or another row of vessels. You can also run the glycol piping in the insulation and terminate at the top of the vessel.
Double Pro Tip: Have some tape handy
Plumber’s tape will usually be able to handle the temperature and pressure of the glycol system. However, we generally advise clients to use thread sealer for some extra security. (We like the one Loctite makes!)
Commissioning
So it’s commissioning day! First – run it without glycol (at around 10C) for a couple hours. This way you can check for leaks and patch up when needed. (Don’t set your chiller too low during this as the water will freeze.)
Secondly – glycol is expensive! So you do not want to be leaking money all over your brewery before you go. When you first start sending water into your piping the goal is to flood the jackets and push out all the air in the system.
Sometimes air pockets can form and if a tank is not cooling it could be that glycol is not flowing evenly due to air pockets.
The Bespoke Difference
As you can see, glycol is an incredibly important component of your brewhouse. Which means decisions around brewery equipment are important too.
When you hire the Bespoke Brewing Solutions team, you get more than just an equipment supplier.
You get a consultant, who can walk you through the process from start to finish – and beyond.
So if you’d like a teammate, as well as a supplier – get in touch.